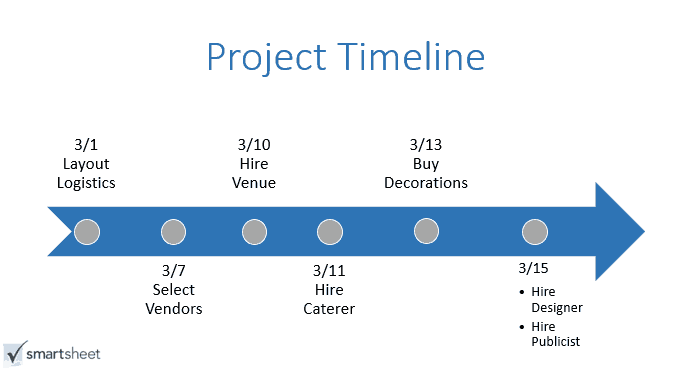
Download Our Free PowerPoint Timeline Template

To add your own information, simply double-click on the text in the slide and enter your own dates and tasks. If you want to change the timeline graphic, double-click on the arrow and in the Layouts group, scroll through the other types of timelines.
To change the colors of the timeline template, read the “How to Customize Your Timeline in PowerPoint” section below.
Click here to download a free timeline template in PowerPoint
How to Make a Timeline in PowerPoint
With SmartArt Graphics, you can quickly insert a timeline image into your PowerPoint slide and add your own information. You can either include the timeline as part of your PowerPoint presentation or export it as a .PDF to include elsewhere.
Before you start, make sure you have a list of all the dates and information you want to add to the timeline.
Note: We are using Windows running PowerPoint 2013 in this example.
Inserting a Timeline in PowerPoint
- Open PowerPoint and create a new presentation. You can open a blank presentation and customize the colors yourself or choose an online template. For this example, we’ll use a blank presentation.
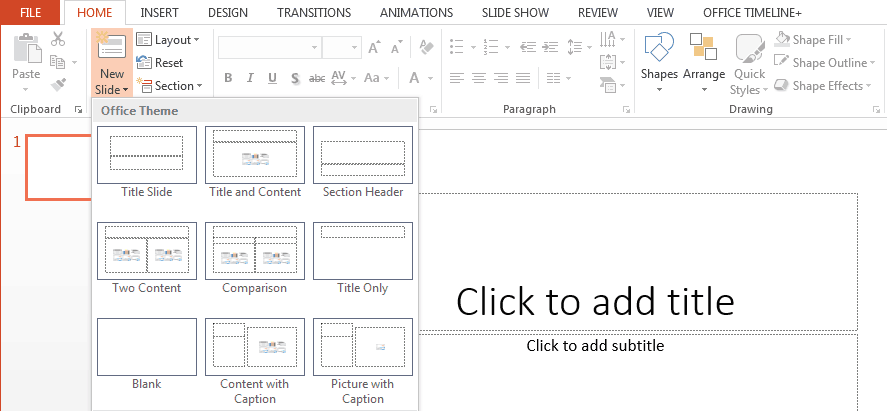
- If you choose a blank presentation, you will only see a title slide when you open the file. If you choose a template, there will be a number of slides in the presentation. Either way, click New Slide in the Home group and add a Title and Content slide.
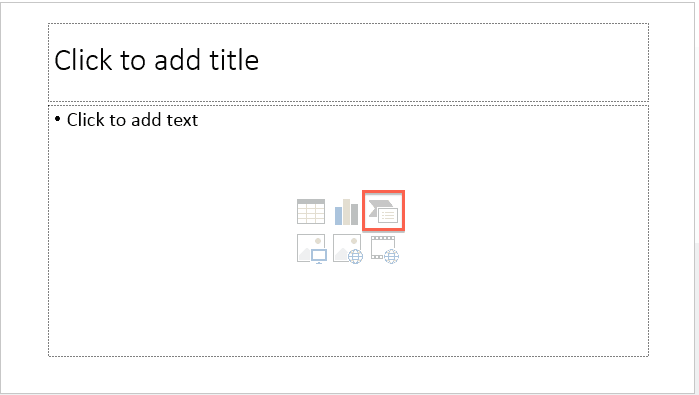
- You’ll see six icons in the middle of the slide. Click the upper right-hand icon to insert a SmartArt Graphic.
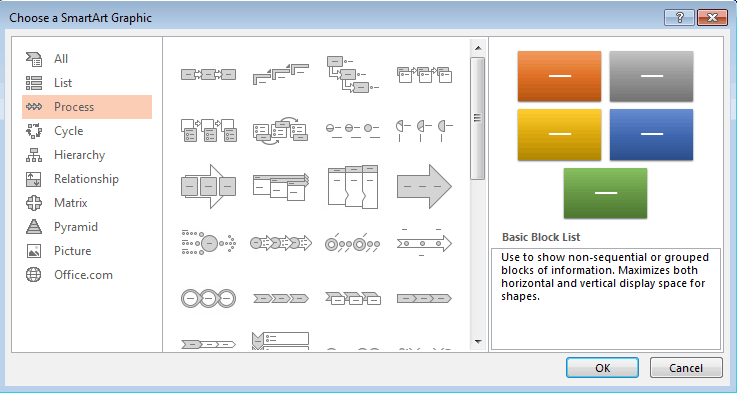
- In the pop-up box, on the left-hand side, click Process. This will show you all the graphic options for a timeline. You can choose any timeline you like, but for this example, we’ll choose the arrow with the dots in the middle.


Adding Your Project Information to the PowerPoint Timeline
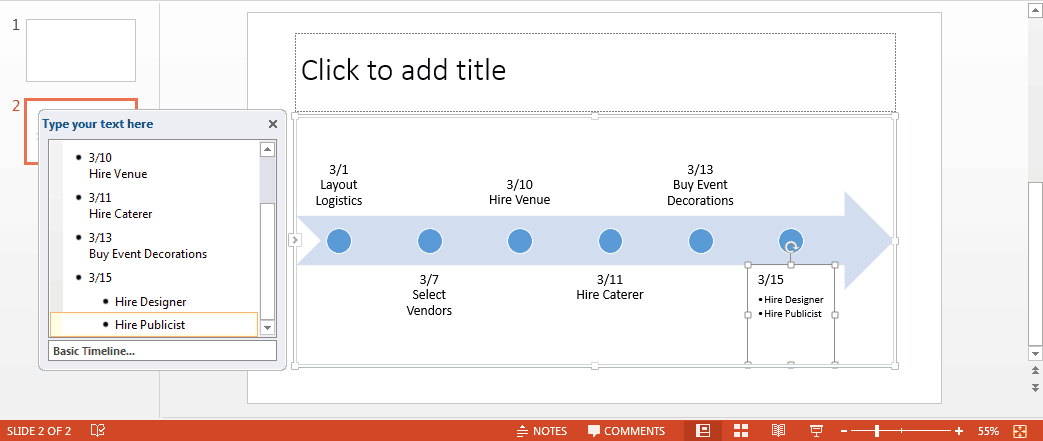
- Add your dates and project information to the timeline. You can either double-click on the [Text] blurbs in the slide or type in the floating text box.
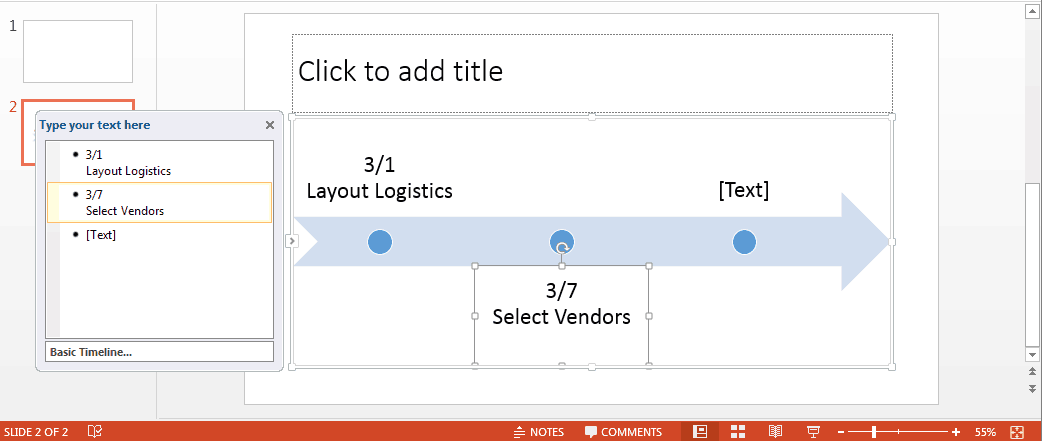
- To add dates and tasks to your timeline, simply hit the Enter key after a bullet point in the text box.
- If two tasks happen on the same date, enter the date in the text box. Hit Enter and then Tab to make multiple tasks nested under the same date. Click Tab each time you want to add a new nested task.
- To delete a task, select the text in the text box and press the Delete button on your keyboard. The timeline will auto-adjust.


How to Customize Your Timeline in PowerPoint
Now that you have created the framework for your timeline, you can change the colors, adjust font size, and even add your company logo.
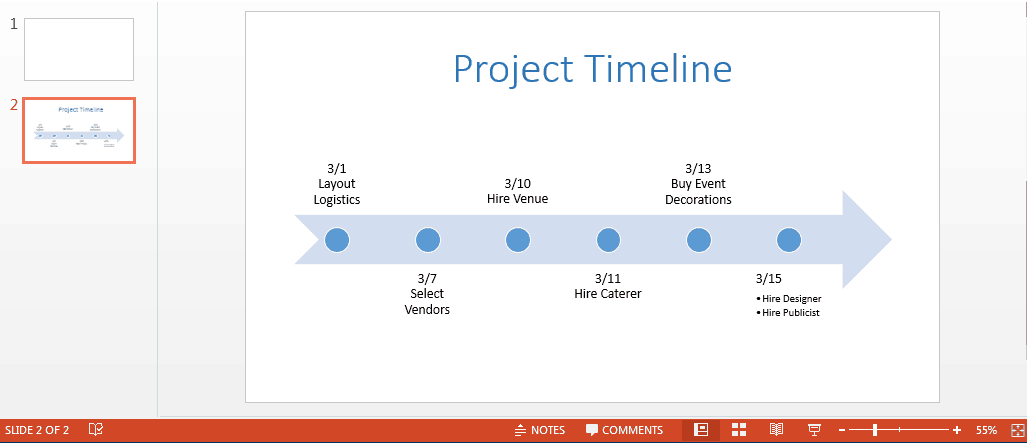
- Double-click the title field to add a title to your timeline. In the Font group, you can adjust the font size or color, and in the Paragraph group, you can change the alignment of the text.
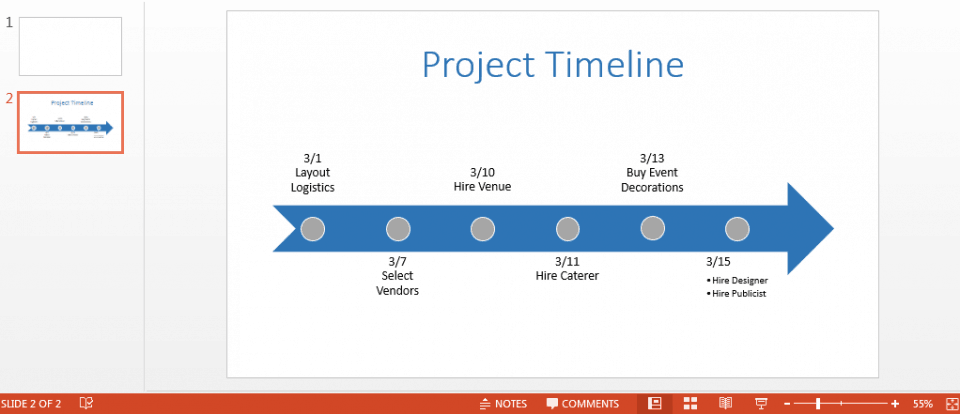
- To change the background color of the arrow (or the timeline graphic you chose), click the image and in the Drawing group, click Shape Fill. Choose the color you’d like from the color palette.
- To change the color of the circles in the arrow, click on a circle, hold down Shift and click the remaining circles. Then, in the Drawing group, select Shape Fill to pick a new color.
- To change the font and font size of the tasks on the timeline, click the text on the slide and in the Font group, adjust the font size, font type, and color.
- To add your own logo, click the Insert tab and select Pictures. Select your logo and insert it into the slide.

Use a Smartsheet Template to Create a Robust Timeline
Smartsheet is a spreadsheet-inspired work management tool with powerful collaboration and communication features. You can easily collect and organize all your project information in Smartsheet and collaborate with team members, then integrate with Office Timeline to easily create a visual timeline.
Here’s how to use Smartsheet and Office Timeline to create a timeline in PowerPoint:
Pick a Timeline Template in Smartsheet
- First, log in to your Smartsheet account or start a free, 30-day trial.
Try Smartsheet for Free - Then, go to the Home tab.
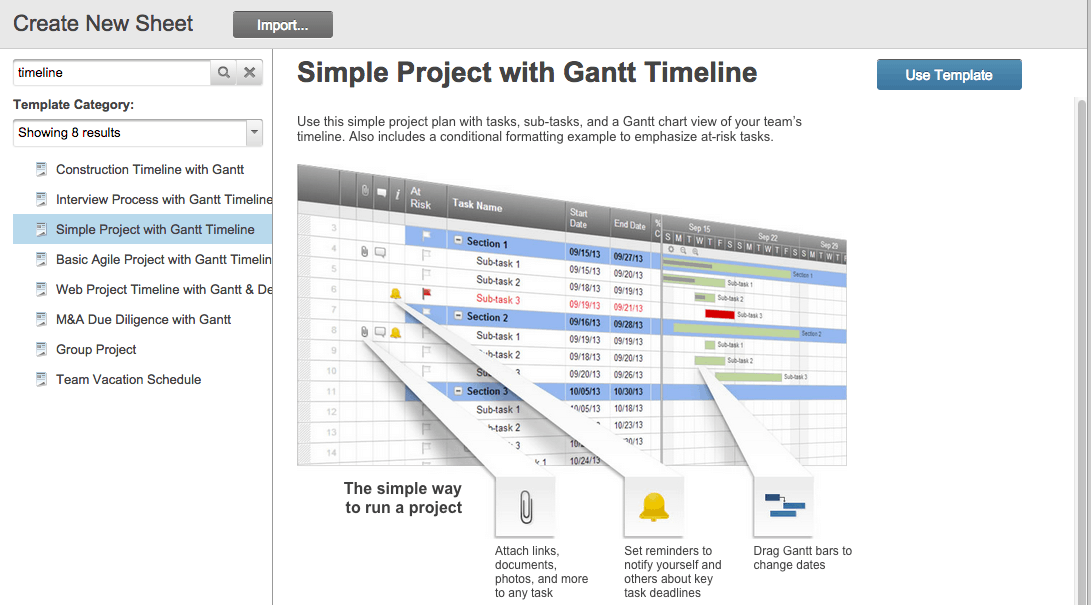
- Click the blue Create New button and choose Browse Templates. Search for "timeline" and for this example, choose the Simple Project with Gantt Timeline template and click Use Template.
- Name the template, choose where to save it, and click the Ok button.

Add Your Own Timeline Information
A pre-built template will open, with all the sections, sub-tasks, date fields, and Assigned To fields filled out with sample content.
If you need to delete or add a row, right-click on the cell and select Delete Row or Insert New Row.
- To delete the yellow box at the top, click on the row, right-click, and select Delete Row.
- Under the Task Name column, double-click on cells to add your own timeline information. Use the cells titled Section 1, Section 2, and Section 3 to establish hierarchy (read this post to learn more about hierarchy).

- Click on a cell in the Start Date and End Date columns and use the calendar icon to choose a date or manually enter a date in the cell.
- You can also add Assigned To and % Complete information to add more context to your project.
Integrate with Office Timeline to Create a Beautiful Project Timeline

With the Smartsheet and Office Timeline integration, you can visually highlight the most important parts of your project in a beautiful timeline. You can use filters to remove unnecessary data, customize the timeline with colors and shapes, and easily share the timeline with others as an image, .PDF, or PowerPoint slide.
Note: Office Timeline requires Windows and PowerPoint. Mac users will need to run Windows and Office using a virtual machine like Parallels Desktop, VMware, Fusion, or VirtualBox.
- Download and install the trial version of Office Timeline here (it's free to download a 15-day trial). After the trial period, you will need to purchase a license in order to use the Office Timeline and Smartsheet integration.
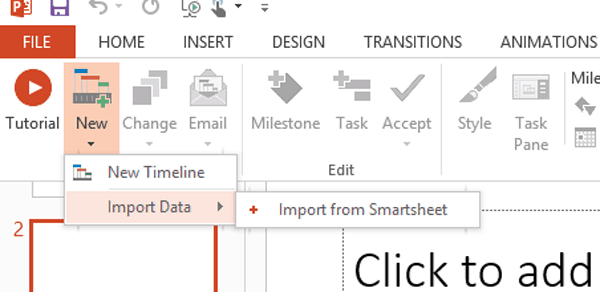
- Open PowerPoint and create a new slide. Select the Office Timeline tab and click New > Import Data > Import from Smartsheet.
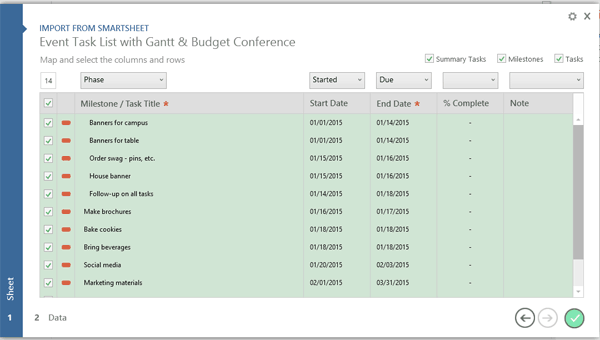
- Follow the instructions to log in to your Smartsheet account. Then, click on the box next to the sheet you want to import to PowerPoint. You can also choose to include or exclude certain information from your sheet.
- Once the timeline is created, you can change the colors, symbols, layout, and add your own branding and logo.


Improve Visibility with Real-Time Work Management in Smartsheet
From simple task management and project planning to complex resource and portfolio management, Smartsheet helps you improve collaboration and increase work velocity -- empowering you to get more done.
The Smartsheet platform makes it easy to plan, capture, manage, and report on work from anywhere, helping your team be more effective and get more done. Report on key metrics and get real-time visibility into work as it happens with roll-up reports, dashboards, and automated workflows built to keep your team connected and informed.
When teams have clarity into the work getting done, there’s no telling how much more they can accomplish in the same amount of time. Try Smartsheet for free, today.