How to Create a Calendar in Microsoft Excel for Windows
Follow these instructions to create a calendar using a pre-built template in the Windows Microsoft desktop app. This tutorial uses the latest version of Excel in Microsoft Office 16 for Windows.
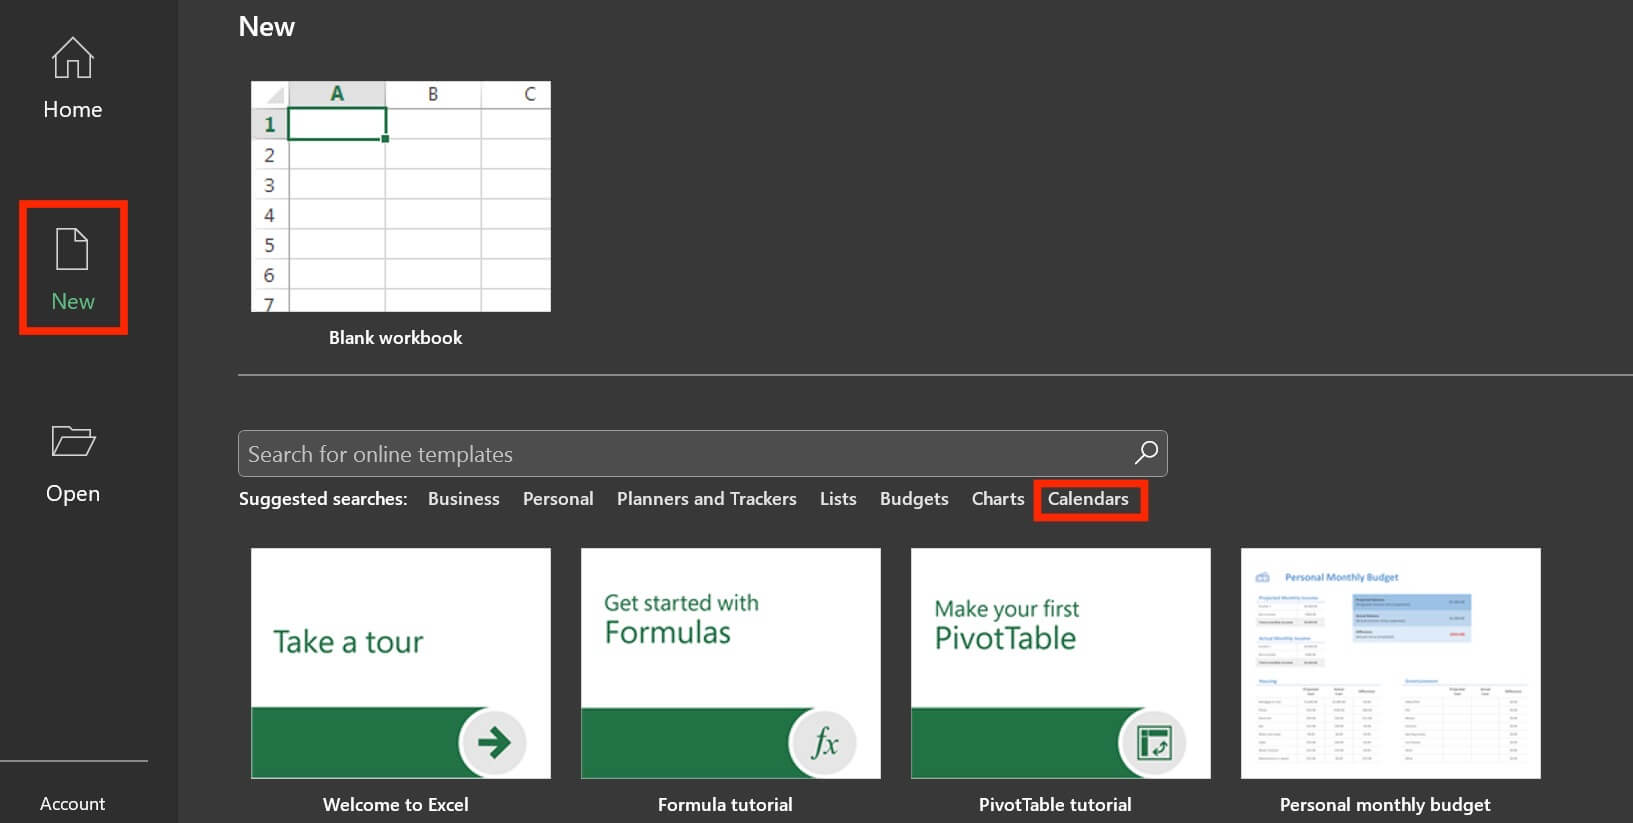
- Open Microsoft Excel on your PC.
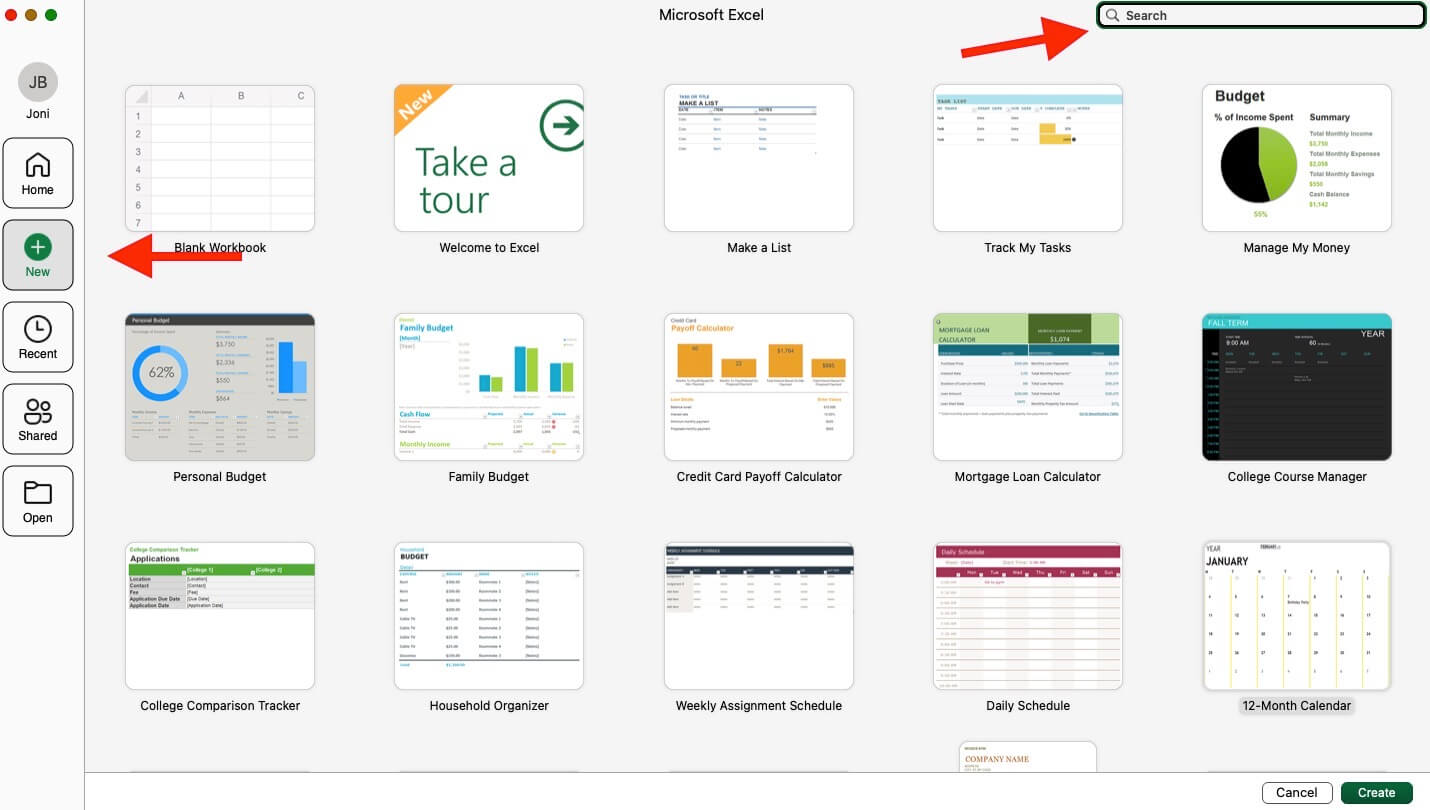
- Click on the New icon in the left nav menu.
Click Calendar under the search bar to see included Microsoft calendar templates.
Click on the calendar you want to use, and click the Create button. For this example, we will pick the Any Year One-Month Calendar template.
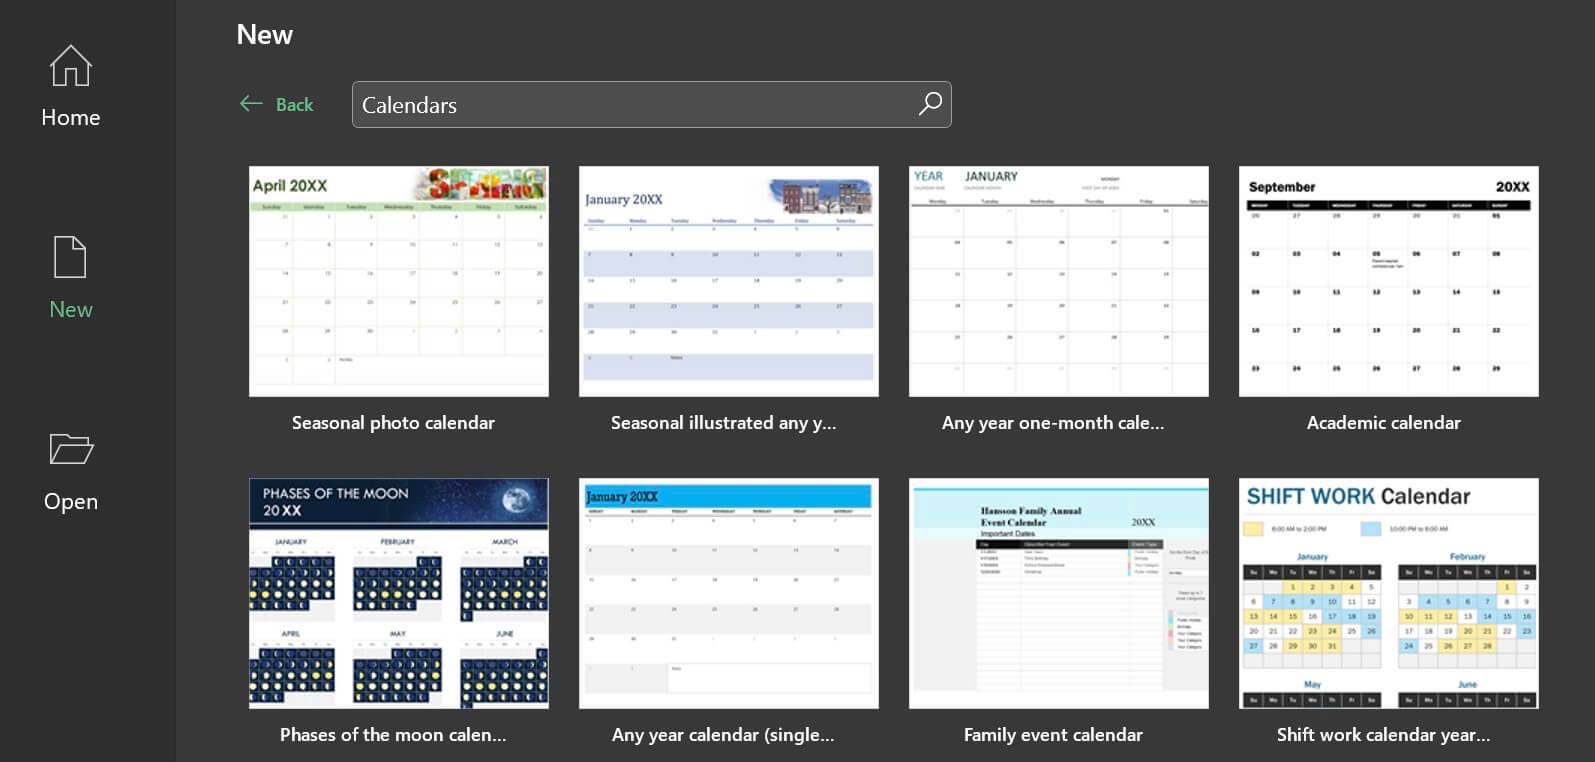
Note: Once you click on a calendar and look at the preview, click on the right and left arrows to navigate through all the calendar template options.Rename and save the template. Click File and Save As. Enter the new name, navigate to the folder where you want to save it, and click the Save button.

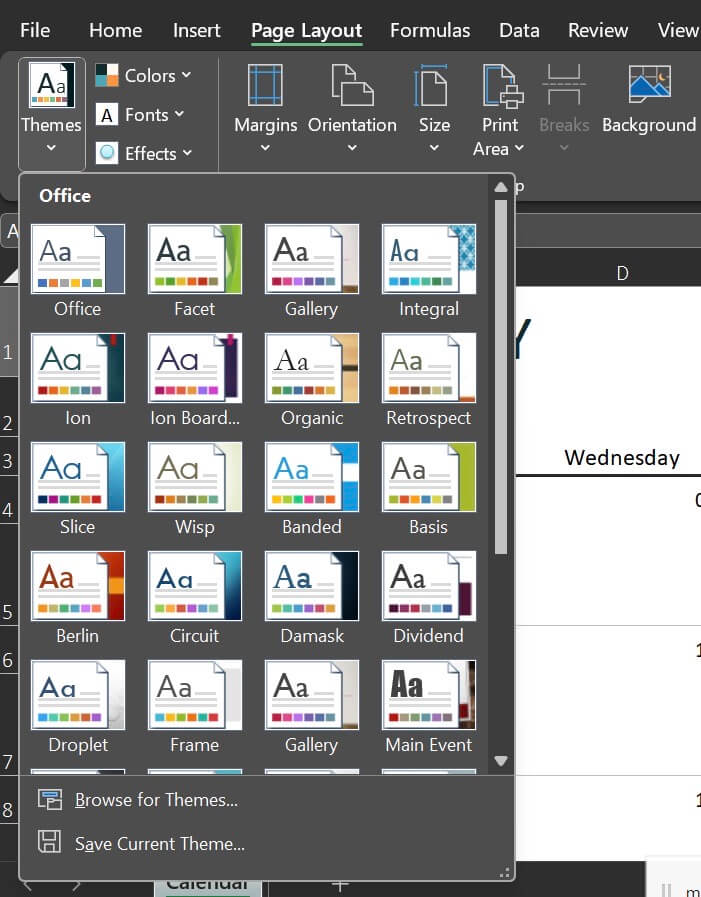
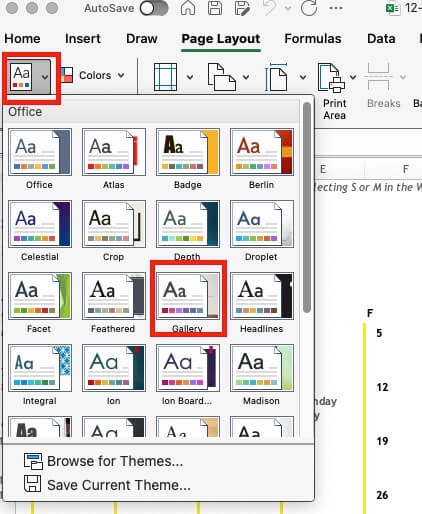
To change the calendar’s look, click Page Layout in the upper ribbon. Click the drop-down arrow next to Themes in the ribbon. Click a new theme, and the color and font changes will be applied to the calendar.


If you’re looking for calendar templates with more functionality than those available in the Microsoft Excel app for Windows, check out this selection of yearly, weekly, and monthly calendar templates. Some of the Excel calendar templates include the following:
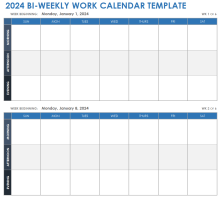
A bi-weekly work calendar template for planning your morning, afternoon, and evening activities.
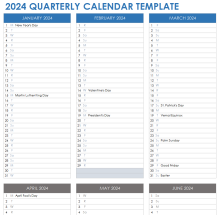
The quarterly calendar template offers space to list one main event for each day, an ideal view for planning three-month projects.
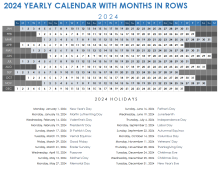
Easily track important dates at a glance with this yearly calendar template with months as rows and that lists the 2024 U.S. holiday dates.
How to Create Calendar in Microsoft Excel for Mac
Follow these steps to create a calendar using one of Microsoft’s pre-built templates in the app. This tutorial uses version 16.80 of Microsoft Excel for Mac.
- Open Microsoft Excel on a Mac.
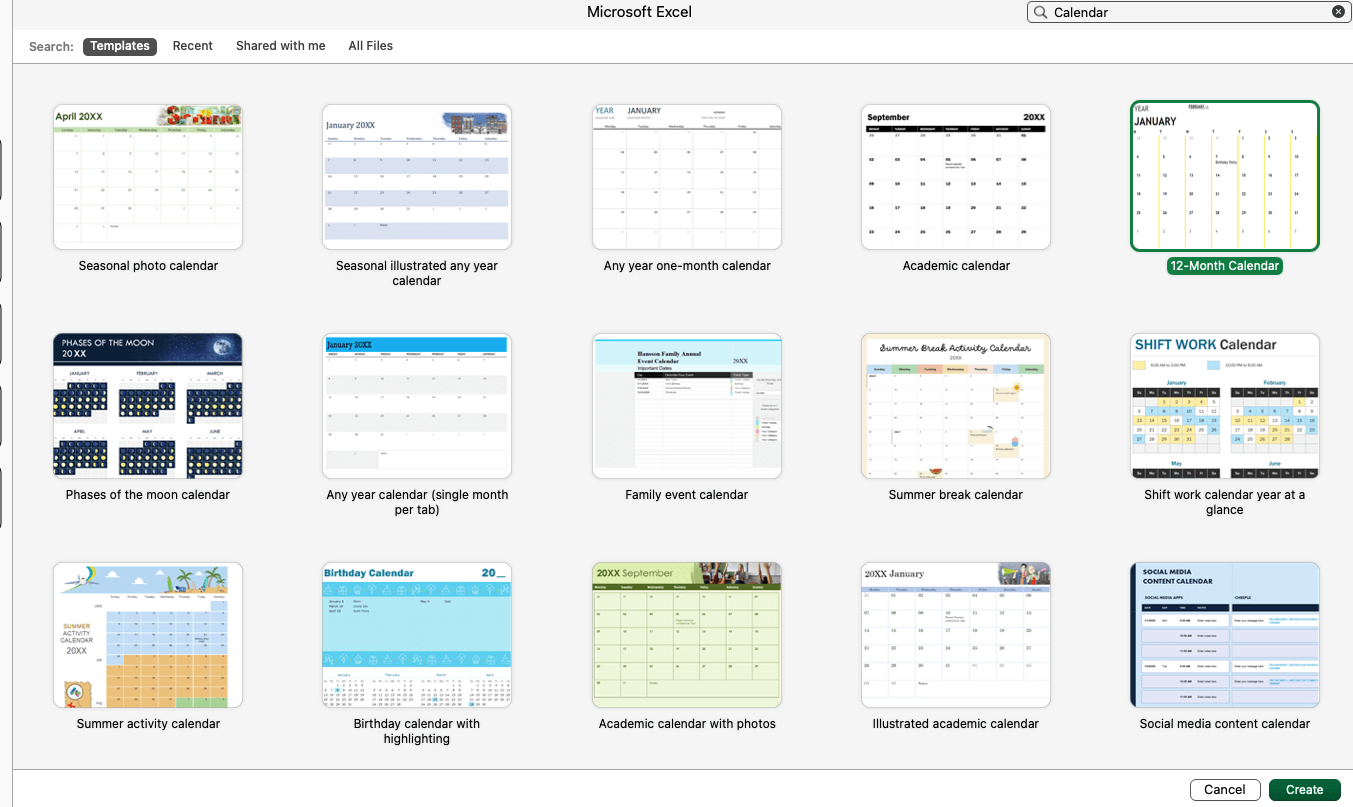
Click the New button on the left nav. In the search bar, type Calendar and press the Return key on your keyboard.
Double-click on the calendar you want to use. For this example, we will pick the 12-Month Calendar template.
- Rename and save the template. Click File and Save As. Enter the new name, navigate to the folder where you want to save it, and click the Save button.
To change the look of the calendar, click Page Layout in the upper ribbon. Click the drop-down arrow next to Themes in the ribbon. Click a new theme, and the color and font changes will be applied to the calendar.


The Microsoft Excel app templates are for various scenarios, ranging from student and school calendars to those for tracking family events to a basic social media calendar. Find more business and work-centric calendars in this collection of Excel calendar templates. Highlights include the following:
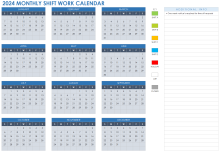
Managers will appreciate this shift work calendar template for 2024 and its color-coded feature that displays the rotation pattern at a glance.
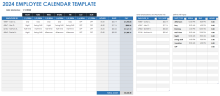
Use the employee calendar template to schedule and track hourly staff work hours and pay rates.
This weekly calendar with U.S. holidays for 2024 marks all the major holidays and includes space for adding notes.

How to Create a Calendar in Microsoft Excel on the Web Using 365
A Microsoft 365 subscription includes a web version of all the included apps. These apps add commenting and sharing functionality. However, they tend to lack some of the more robust features found in the desktop app.
Follow these steps to create a calendar using one of Microsoft’s pre-built templates on the web:
- Sign in to your Microsoft 365 account by visiting www.office.com, clicking the Sign in button, and entering your username and password.
Tip: You can also go directly to create.microsoft.com/en-us/templates/calendars, but you still need to sign in. You can also download and use the template in your Microsoft 365 desktop app. Enter the phrase calendar templates in the search bar, and press the Return key on your keyboard.
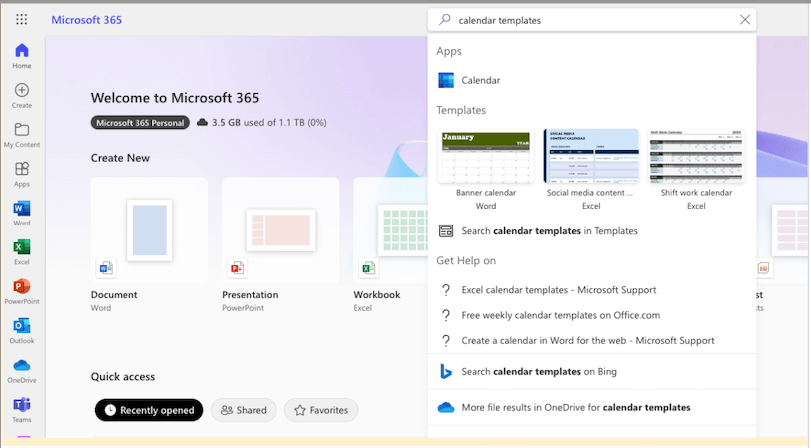
- Click More template results.
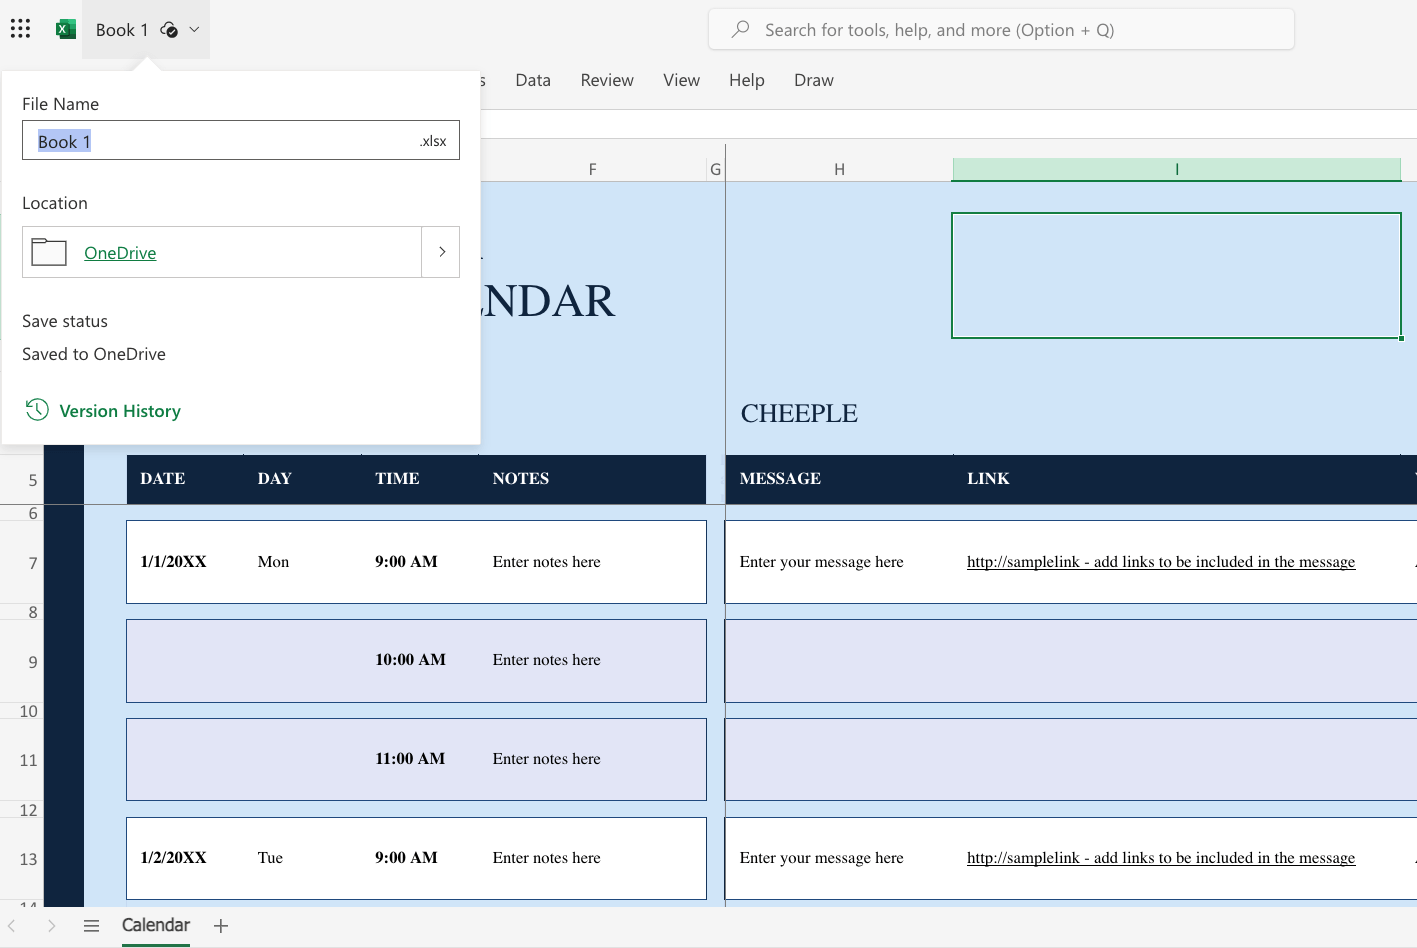
- Double-click on the calendar you want to use or click the Create button. For this example, we will pick the Social Media Content Calendar template.
Double-click on the phrase Book 1 in the top-left corner to rename, and save it to One Drive.


You’ll need to make any customizations, such as font and color changes to the calendar manually, as the web version lacks pre-designed themes. However, you can share the calendar and add comments to it.
If you’re looking for an Excel template with more functionality, check out this collection of marketing calendar templates and Excel project calendar templates. Some of the more advanced calendars you’ll find include the following:
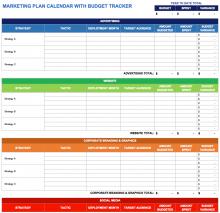
A marketing plan calendar with budget tracker to quickly learn how much you’re spending on each tactic.
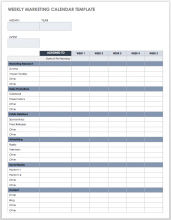
A weekly marketing calendar template to easily manage which activities you need to accomplish daily.
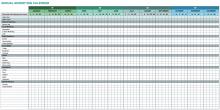
An annual marketing calendar template you can use for planning and getting a snapshot of monthly efforts.
How to Create a Calendar in Excel 2003, 2007, and 2010
Here are some step-by-step instructions for making a monthly or yearly calendar in Excel. Start by opening a blank document in Excel.
1. Add Weekday Headers
First, you’ll need to add the days of the week as headers, as well as the month title.
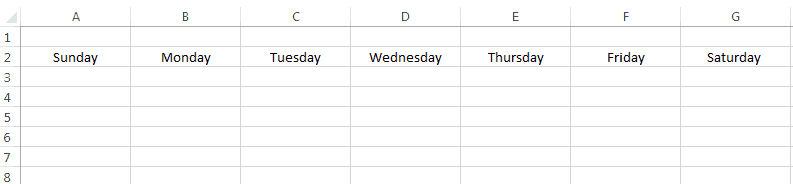
- Leave the first row in your spreadsheet blank. On the second row, type in the days of the week (one day per cell).
To format the weekday headers and ensure proper spacing, highlight the weekdays you just typed, and on the Home tab, in the Cells group, click Format. Select Column Width and set the width for around 15-20, depending on how wide you want the calendar.

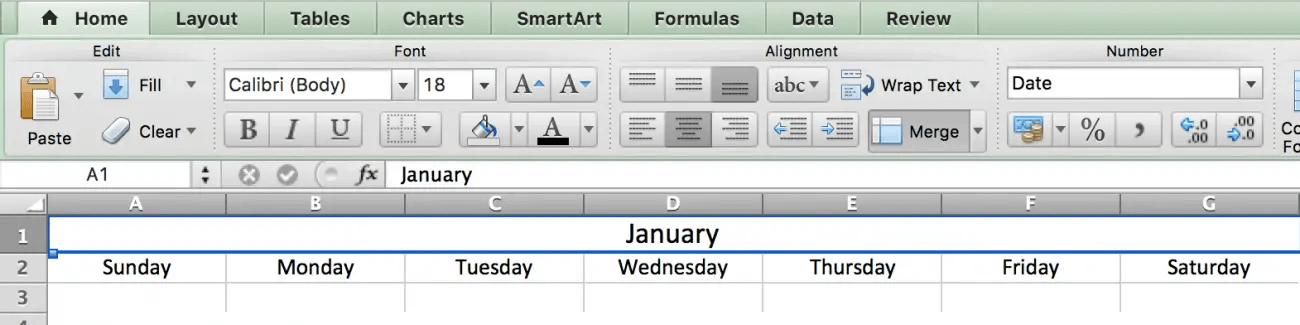
2. Add Calendar Title
In the first blank row, add the current month as the title of the calendar using a formula. Click any cell in the first row, and in the fx field above the blank row, enter =TODAY(). This tells Excel you want today’s date in that field.

- You’ll see the format of the date is incorrect. To fix this, click the cell with the date. In the Home tab, in the Number group, click the Date drop-down. Select More Number Formats and choose the format you would like for the month title.
To center the title, highlight all the cells in your title row (including the one with the month displayed) and click on the Merge and Center button in the Home tab.


3. Create the Days in the Calendar
Here is where you will build the body of your calendar. We will use borders to create the date boxes.
- First, highlight your whole spreadsheet.
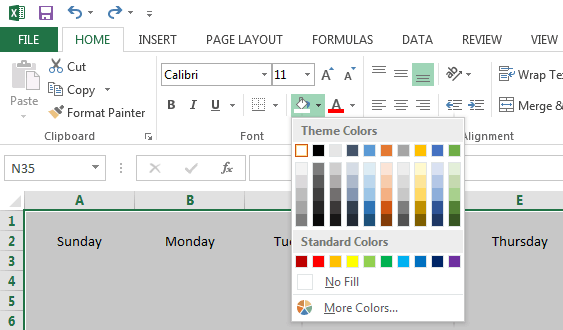
Click the paint bucket icon in the Home tab and select white. Your spreadsheet should now have a white background.
Then, highlight five or six cells under the first weekday header, Sunday.
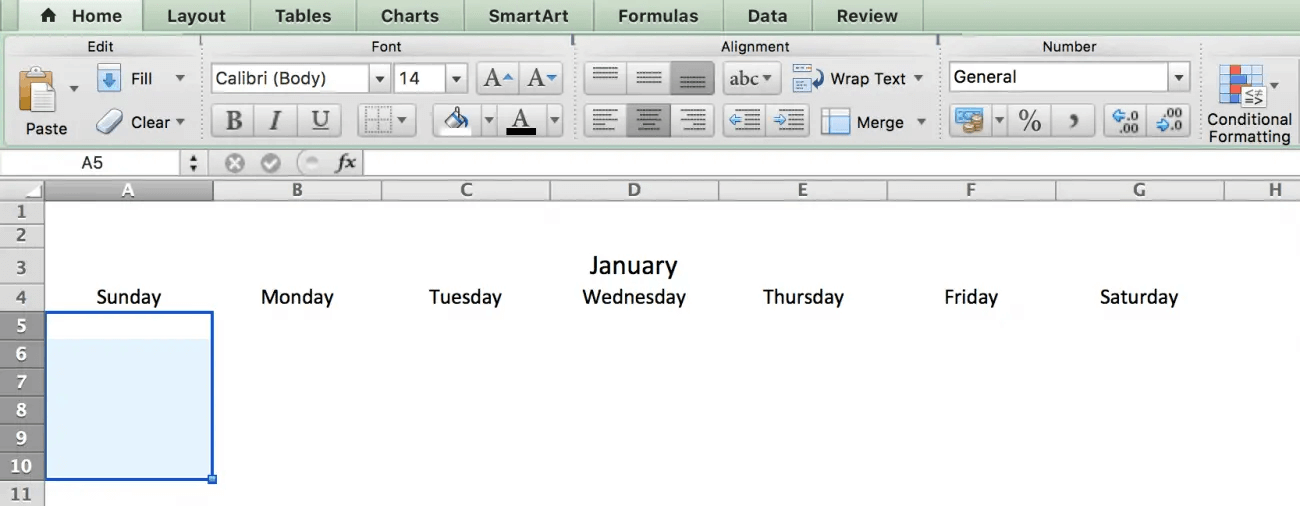
- While the cells are still highlighted, click the borders icon in the Home tab and select the outside borders option. This will outline the first date box in the row.
- Highlight the box you just made, and copy and paste it under the other weekday headers. This duplicates your box for the other days in the week.
Do this for five total rows in your sheet. The calendar should look like this:
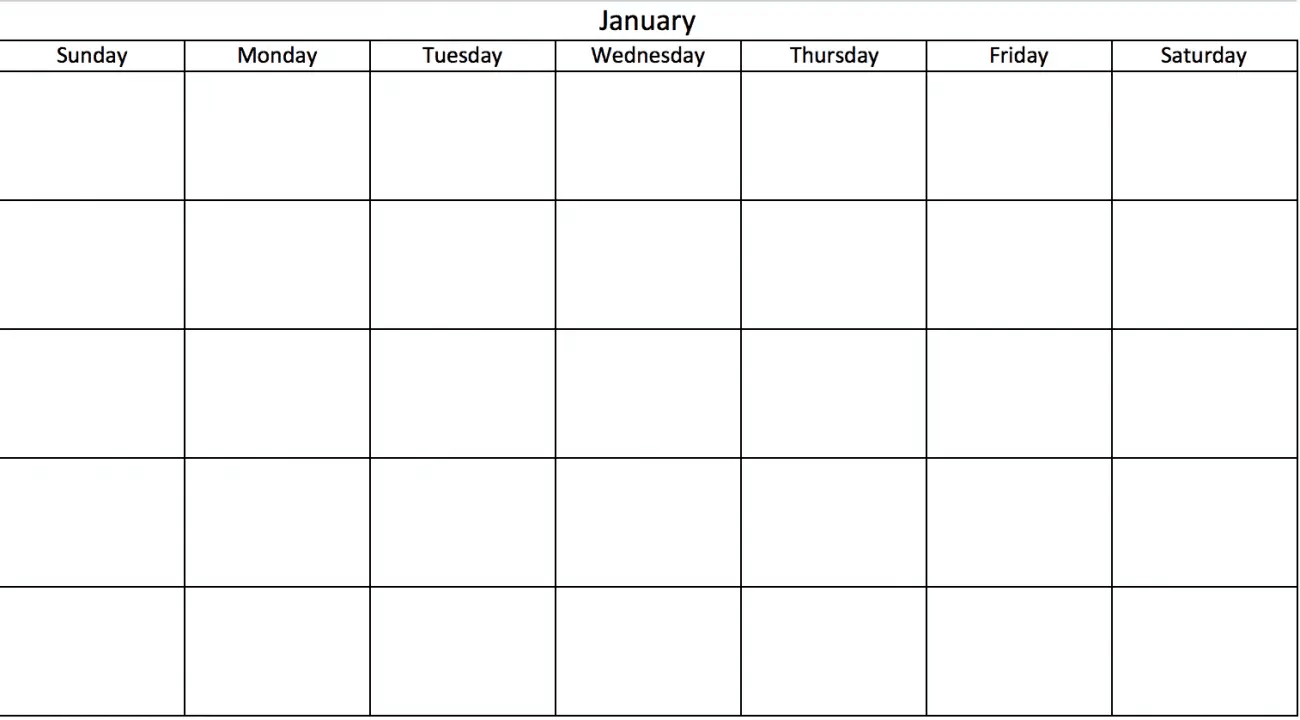


To add borders around the weekday headers, highlight the row with the weekdays, click the borders icon, and choose All Borders.
4. Add Dates
We’ve created the framework for the calendar, now it’s time to add the dates. You can either manually enter the dates in each box, or use Excel’s auto-fill feature. Here’s how:
- For each row in the calendar, enter the first two dates of that week in the first cells in each box. For example, if the 1st of the month is Wednesday, enter 1 into the first Wednesday box and 2 in the Thursday box.
- Then, hold down Shift and highlight both cells with the numbers.
- Drag the bottom-right corner of the highlighted cells to auto-fill the rest of the week.
Repeat for the whole month.
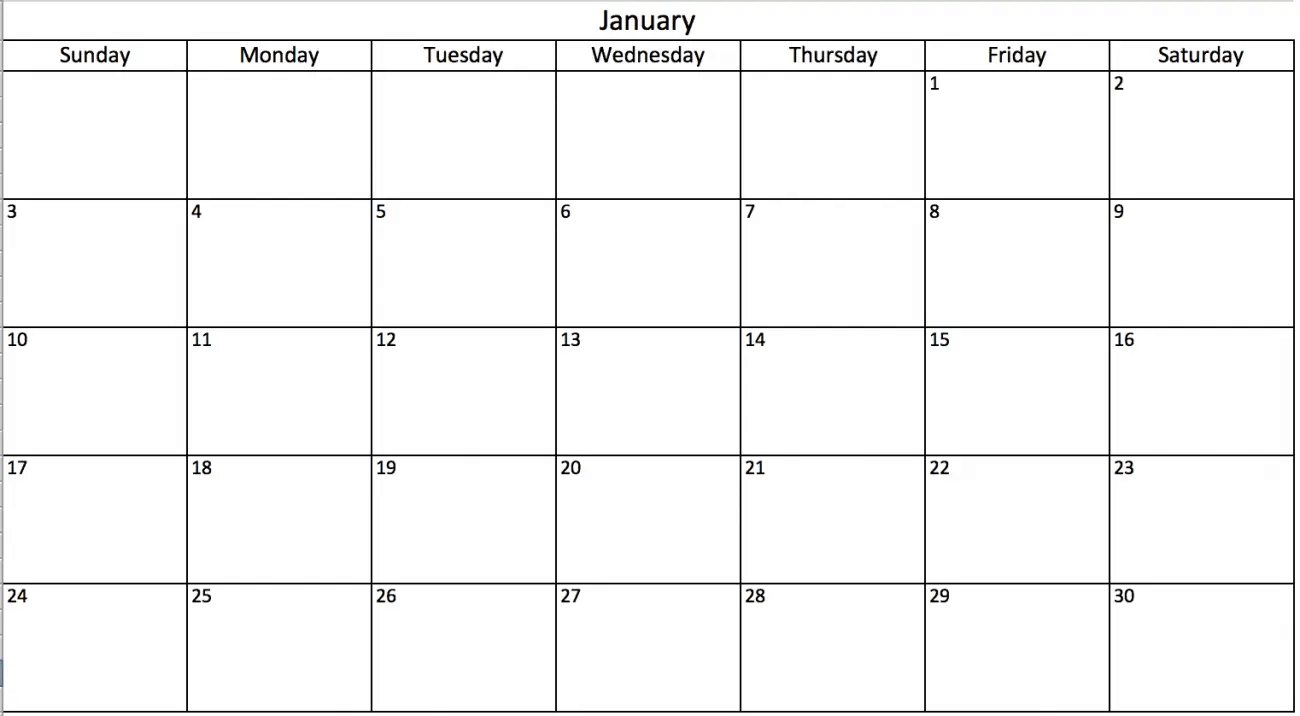

Note: You must manually enter the first two dates for each row before you can drag and auto-fill the rest of the week. To make a yearly calendar, repeat these steps for each of the 12 months.
How to Make a Calendar in Minutes with Smartsheet's Calendar Template
Smartsheet’s pre-formatted templates allow you to instantly create a calendar. Months, days of the week, and dates are pre-formatted, and you have room to add descriptions, comments, and duration in hours of each activity.
Here’s how to use a calendar template in Smartsheet:
1. Open a Smartsheet Calendar Template
- Log in to your account (or start a free 30-day trial).
- Open the Annual Calendar by Day template and click the Use Template button.
Click Annual Calendar by Day and the calendar template will open.


2. List Your Calendar Information
A pre-made template will open, complete with the months and dates already formatted for the entire year. There will also be sample content filled in for reference.
- Add your calendar events under the Activity column. You can also add more detail in the Description, Hours, and Comments columns.
- To add multiple events for the same date, you must create a new row. Right-click on a row and select Insert Row Above or Insert Row Below. Then, in this new row, add the month, day of the week, date, and activity.
If you need to delete a row, right-click on the cell in the row you’d like to delete and select Delete Row.
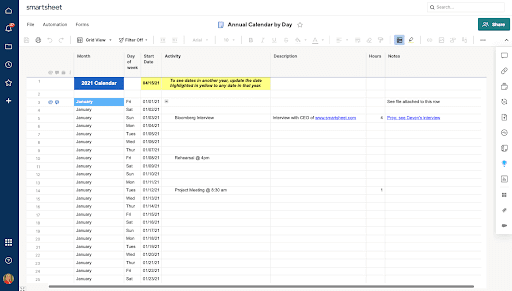

On the left side of each row, you can attach files directly to a task or start a comment around a certain event, adding more context to your calendar.
3. Switch to Calendar View
All your calendar information lives in this table. Then, with the click of a button, you can see all the information auto-populated into a calendar.
- On the toolbar, switch to Calendar View.
You will now see all your information in a calendar (today’s date will be outlined in blue). You can edit or add an event directly from this calendar view, or change the color of an event, by double-clicking on a blue bubble.

Anything you change in this calendar view will be automatically updated in your table.
Email, Share, or Print Your Calendar
Share your calendar with colleagues, friends, or family. You can choose from printing, exporting, or emailing your calendar from Smartsheet.
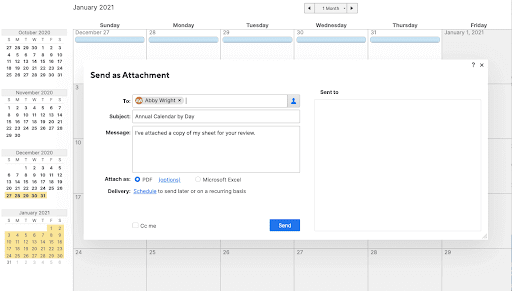
To email your calendar:
- Above the toolbar, click File.
- Select Send as Attachment.
- In the To field, add the recipient(s). Choose from your contact list or type email addresses.
- The Subject and Message fields are auto-populated for you, but you can choose to delete the text and add your own.
Choose whether to attach the calendar as a PDF or Excel sheet, and whether you want to send the calendar right away or on a recurring basis.

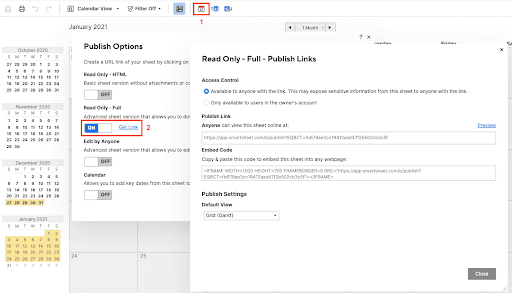
To share your calendar with a link:
- On the toolbar, click on the calendar icon.
- Select the publishing option you would like by clicking the slider.
A pop-up box will appear with a publish link. You can copy and paste the link for anyone to view the calendar or use the embed code to embed the calendar into any web page.

To print your calendar:
- On the toolbar, click the printer icon.
- Choose the calendar date range, paper size, orientation, and more. Then, click OK.
- A PDF version of your calendar will begin downloading. You can then print this PDF.
Learn more about working in Smartsheet's dynamic calendar view and get started today.
Use the Calendar Feature in Smartsheet to Improve Planning Efforts
Empower your people to go above and beyond with a flexible platform designed to match the needs of your team — and adapt as those needs change. The Smartsheet platform makes it easy to plan, capture, manage, and report on work from anywhere, helping your team be more effective and get more done. Report on key metrics and get real-time visibility into work as it happens with roll-up reports, dashboards, and automated workflows built to keep your team connected and informed. When teams have clarity into the work getting done, there’s no telling how much more they can accomplish in the same amount of time. Try Smartsheet for free, today.