How to Create a New Workflow in Jira
- Open Jira.
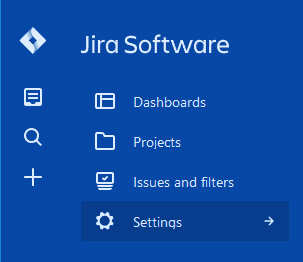
- Click Issues, and then click Workflows.
- To create a new workflow, click the Add workflow button.
- Type in a name and add a workflow description. The new workflow opens and is ready to edit.
How to Configure a New or Existing Workflow
You can add states and transitions to new or existing workflows. Keep in mind that some restrictions are placed on the editing of active workflows. You edit Jira workflows in the Workflow Designer, using either the Diagram or Text view.
DIAGRAM TEXT BUTTON IMAGE
Use the diagram format for an overview of your workflow as you build it. The text version expedites adding labels and descriptions to steps and transitions. For the purposes of this tutorial, we’ll work in the Diagram view. For more information on planning and creating a new workflow, see The Essential Guide to Jira Workflow Best Practices.
- Click the Add status button to add your first status. Name your new status. Important: You can reuse an existing status found in active workflows, but any changes you make to it will affect other workflows. Click Add.
INSERT WORKFLOWS NEWFLOW IMAGE -
Repeat the previous step to add the next step in the workflow. You can create all the steps at once and then add the transitions, or you can add transitions as you create each step. You can click and drag the step boxes to arrange them in a pattern that shows the logic of the workflow. Keep in mind that you should publish the finished diagram to your team so they can understand the workflow.
-
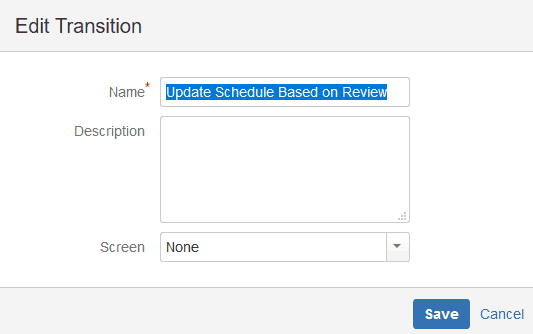
To add a transition, click Add transition.
-
Specify where you want the transition to go. Name it and click Add.
-
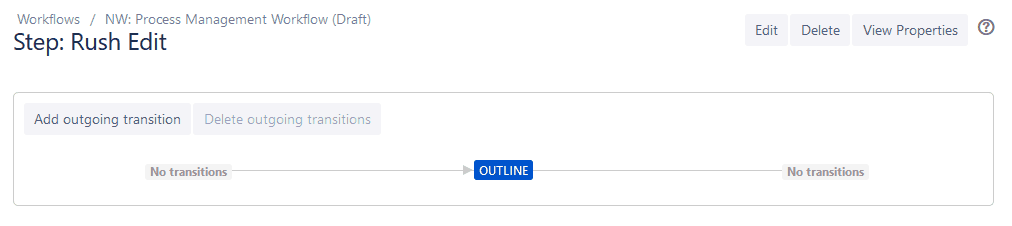
When using a workflow, you may want to return a work item to a previous status. To do this, you must add an extra transition between steps. After you add all the statuses and transitions forward and back (where appropriate), your workflow should look something like this:
INSERT JIRA WORKFLOW IMAGE
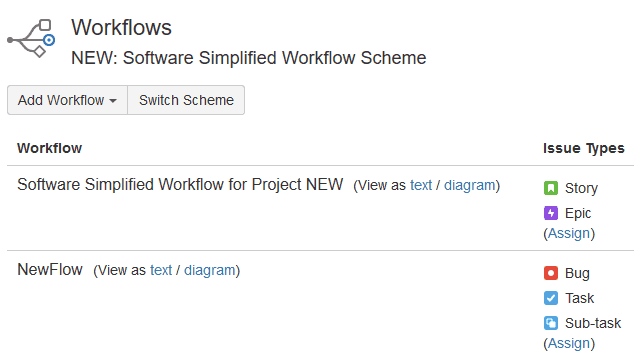
Your new workflow appears on the Workflows page at the bottom in the Inactive list.
Delete a Step
You can delete a step only if it has no transitions.
- Click the Delete Step link.
Add a Transition Screen
If you need user input during a transition, you can display a screen on transition. Jira calls this a View screen.
- In your workflow, click the Edit button.

- In the Diagram, select the transition you want to change. Click the Edit button.

- Select a screen from the Screen box. Default Screen and Resolve Issue Screens show the complete form for the issue with all available fields. The Workflow Screen allows you to assign the work item to a user and add a comment. Click the Save button.
- Click Update.
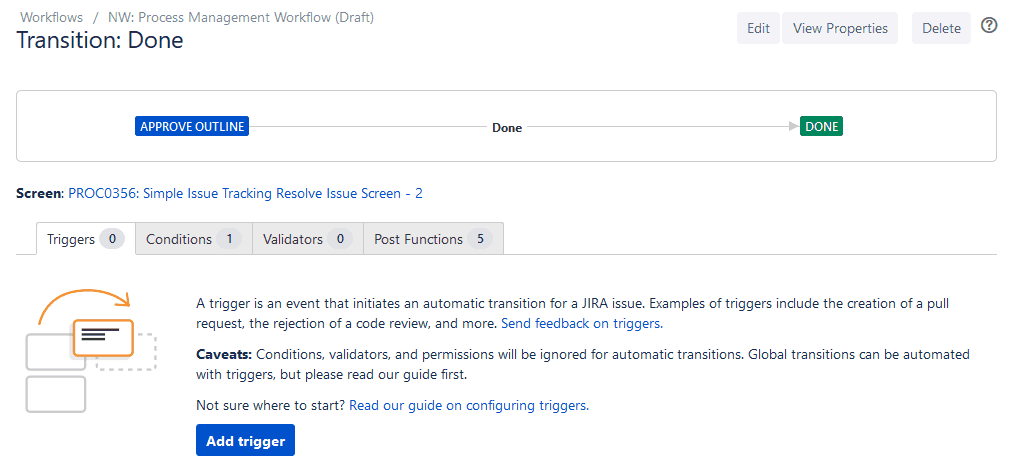
Add a Trigger
-
In your workflow, select the transition where you want to add a trigger. Click Edit.
-
In the Workflow Editor, select the transition again. In the properties panel, click Triggers.
-
Click Add Trigger.
-
Select the trigger type, and then click Next.
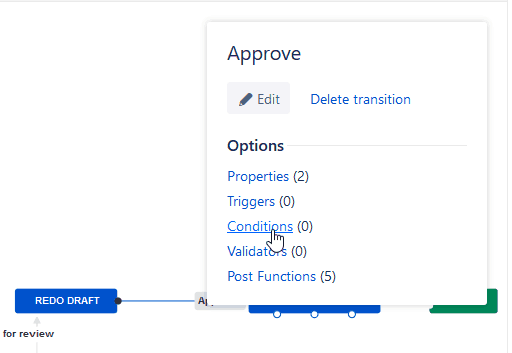
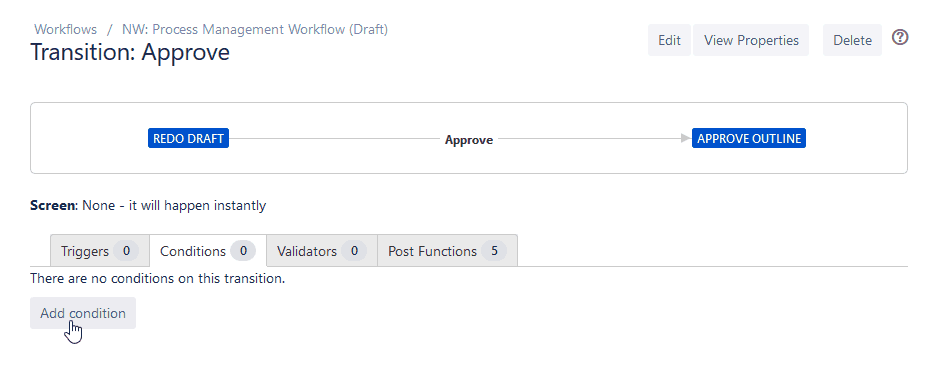
Add Conditions
-
In your workflow, select the transition to which you want to add a condition.

-
In the properties panel, click Conditions.
-
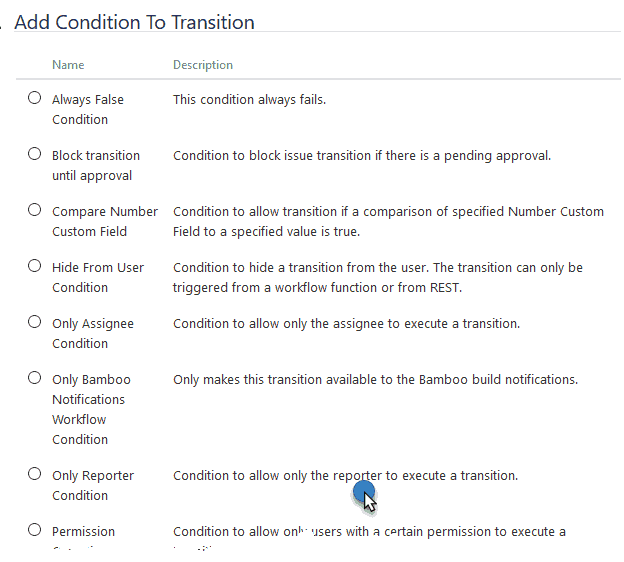
Click Add Condition.
-
Select the condition you want from the list.
-
Click Add.
Add a Validator
-
In your workflow, select the transition to which you want to add a validator.
-
In the properties panel, click Validators.
-
Click Add validator.
-
Select the validator and click Add.

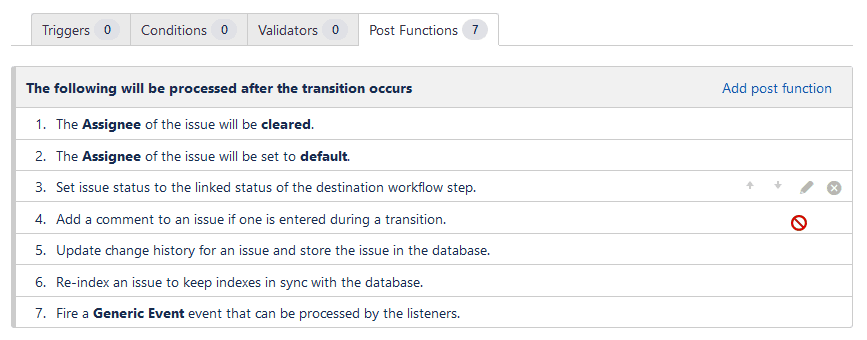
Customize and Apply a Post Function
-
In your workflow, select the transition you want to edit.
-
Click Post Functions. Click Add Post Function.
-
Select the function you want. Click Add.
-
On the Add Parameters page, specify any new settings. Click Add.

-
Click Add.

How to Activate the New Workflow
-
Create a new project or open an existing project.
-
Click Project Settings. Click Workflows.
-
Click Add Workflow.
-
Click Add Existing. Select the new workflow. Click Next.
-
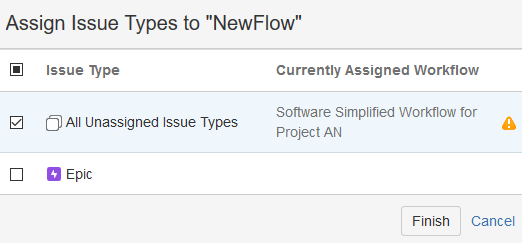
Click the types of issues you want to associate with the workflow.
-
Click the Finish button.
-
Click the Publish button.

-
On the Publish Workflows page, you’ll be asked to associate the current status of each item with the new status. It’s OK if you have more new statuses than are available to map.
-
When you’re done making the matches, click Associate. The issues are migrated to the new workflows. Click Acknowledge.
-
Click Board Settings.
-
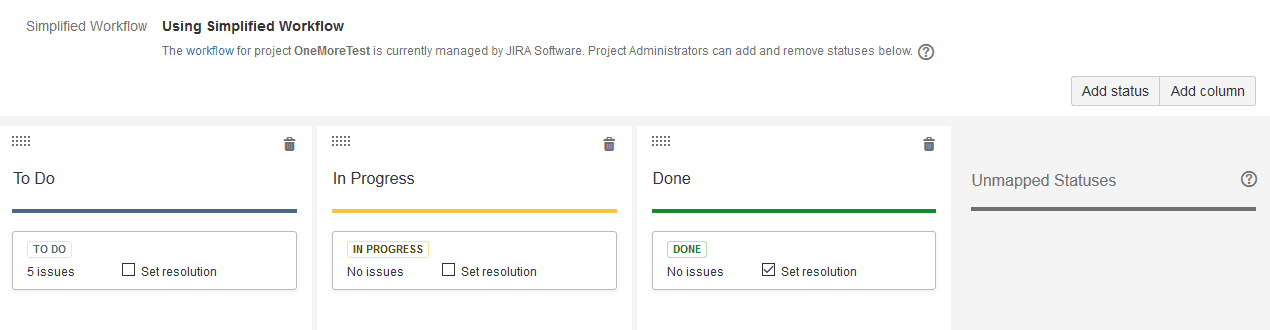
Arrange the unmapped statuses. Create and rename new columns as needed. Learn more about Jira Kanban boards.
Get Project Teams on the Same Page With Jira and Smartsheet
From simple task management and project planning to complex resource and portfolio management, Smartsheet helps you improve collaboration and increase work velocity -- empowering you to get more done.
The Smartsheet platform makes it easy to plan, capture, manage, and report on work from anywhere, helping your team be more effective and get more done. Report on key metrics and get real-time visibility into work as it happens with roll-up reports, dashboards, and automated workflows built to keep your team connected and informed.
When teams have clarity into the work getting done, there’s no telling how much more they can accomplish in the same amount of time. Try Smartsheet for free, today.